
How to Use AI Photography Simulation:Prompt Formulaand Landscape Photography Hands-On Practice
At the heart of AI photography simulation is a five-part prompt formula: the core base instruction sets the style, professional gear settings set the texture, lighting and mood setup sets the emotion, composition and texture control sets the logic, and negative exclusions preserve realism. Write all five and even a beginner can get it right first try; landscape photography is the easiest subject to practice on.
What You’ll Take Away
What Is AI Photography Simulation
After mastering prompt writing and chart creation, Puyo AI’s next high-value play isPhotography Simulation: define subject, style, and settings through a prompt, producing professional-looking portraits with no real shoot and no specialized gear, and recreating photography-grade visuals. Whether you need commercial campaign assets, personal social posts, or a vehicle for creative expression, it delivers efficiently. This chapter covers three core directions—photography simulation, visual creation, and artistic interpretation—and starts with photography simulation.
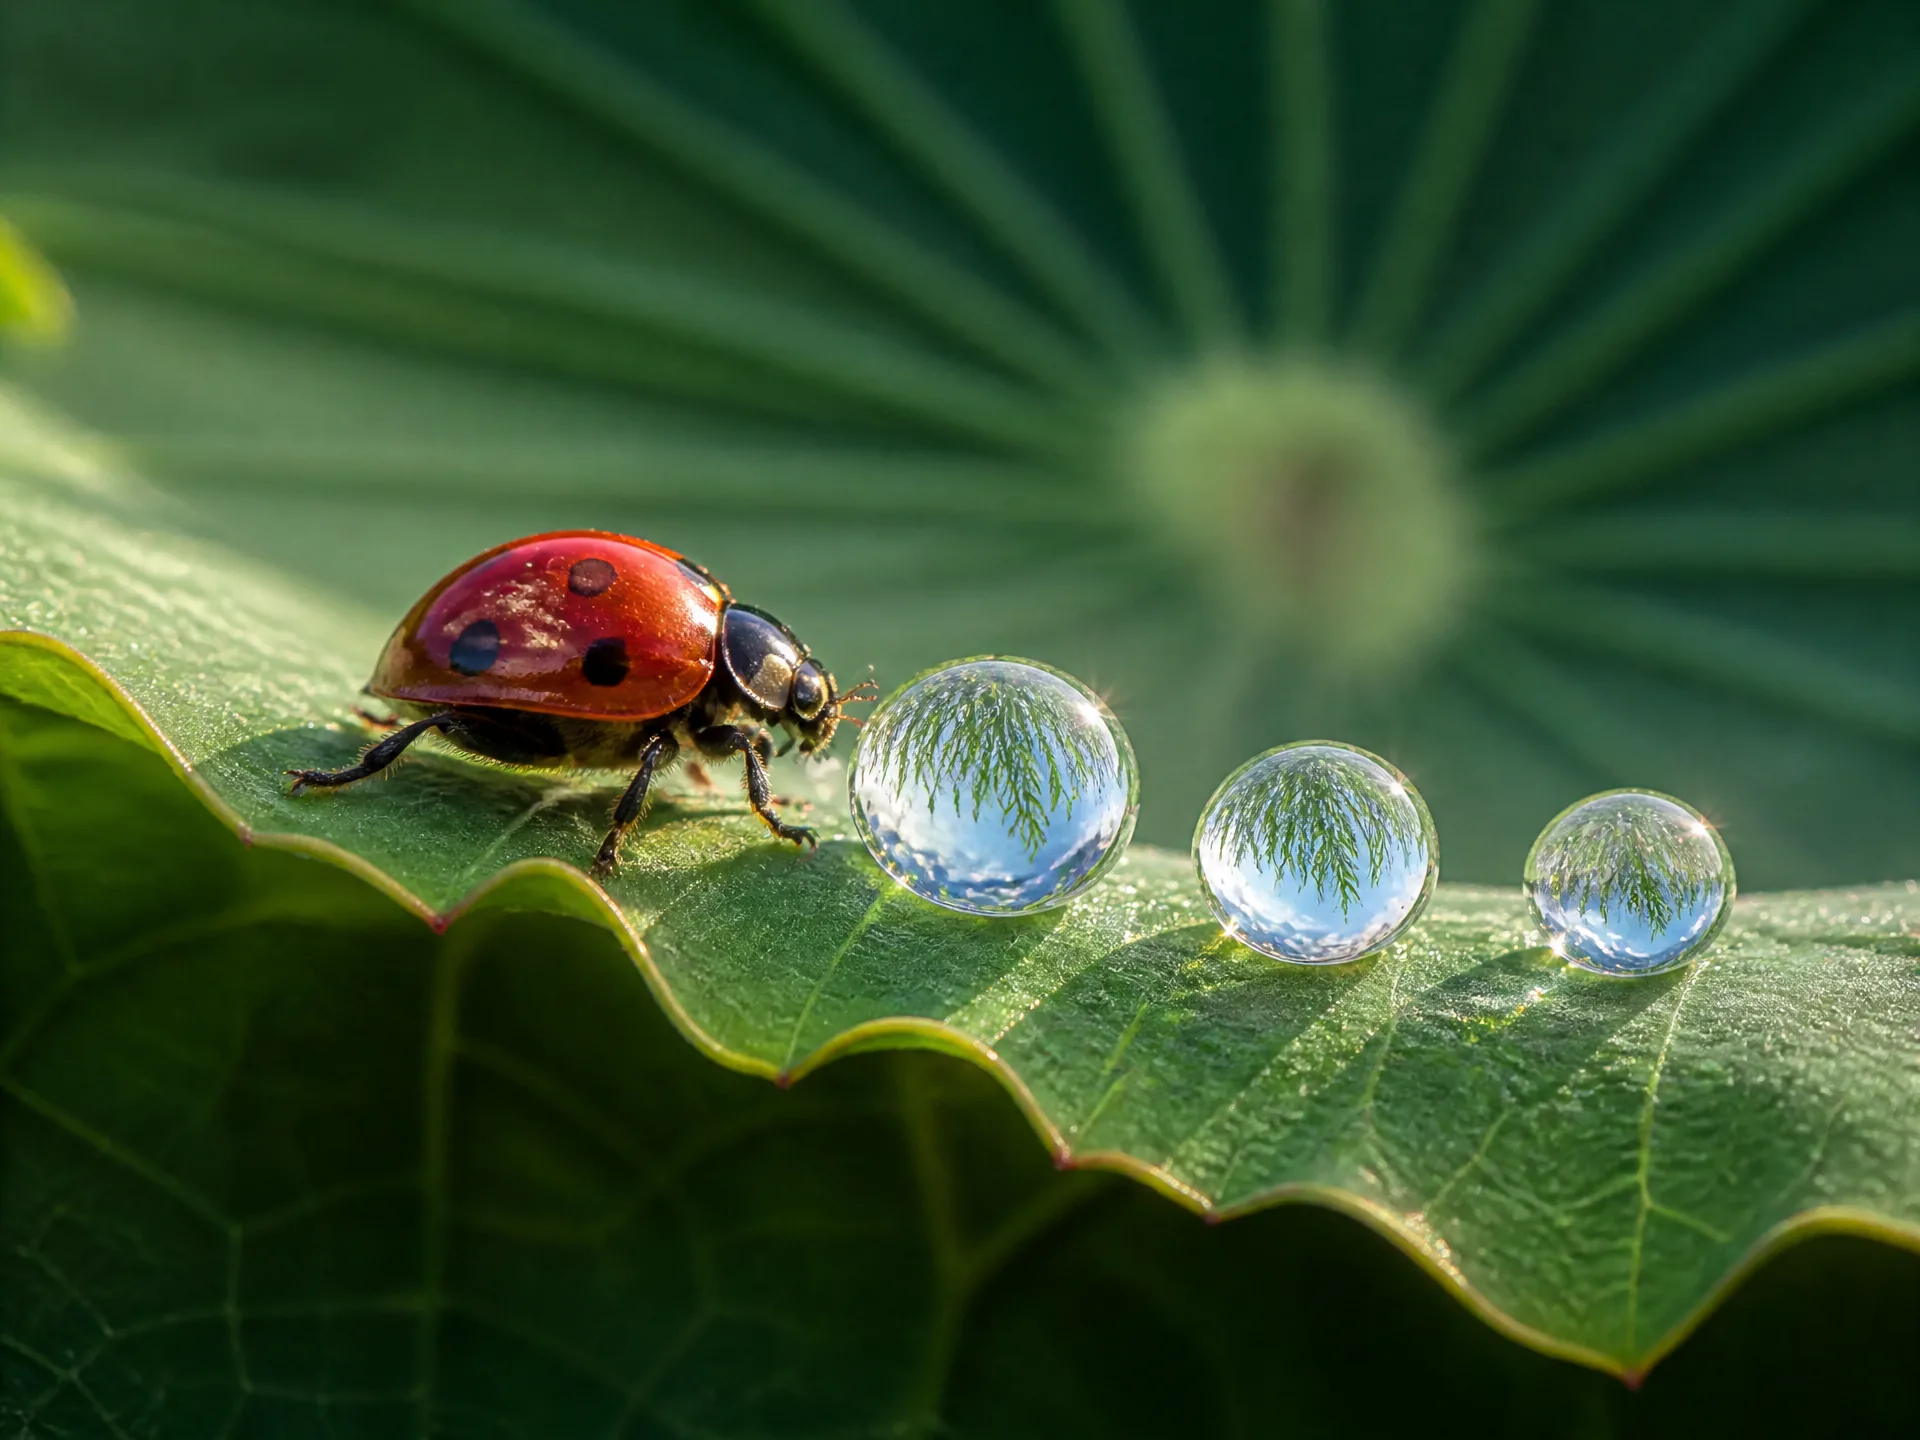
Its value lies in turning “the barrier to shooting” into “the ability to describe.” In traditional photography, a great shot needs gear, weather, and compositional skill; with AI, all of that compresses into one structured prompt—you only need to say what to shoot, what to shoot it with, what light, what composition, and what to exclude.
The Five-Part Prompt Formula: From Style to Negative Exclusions
To have AI faithfully recreate a photographic style, its lighting, and its image texture, write the prompt in five blocks, each with one job:
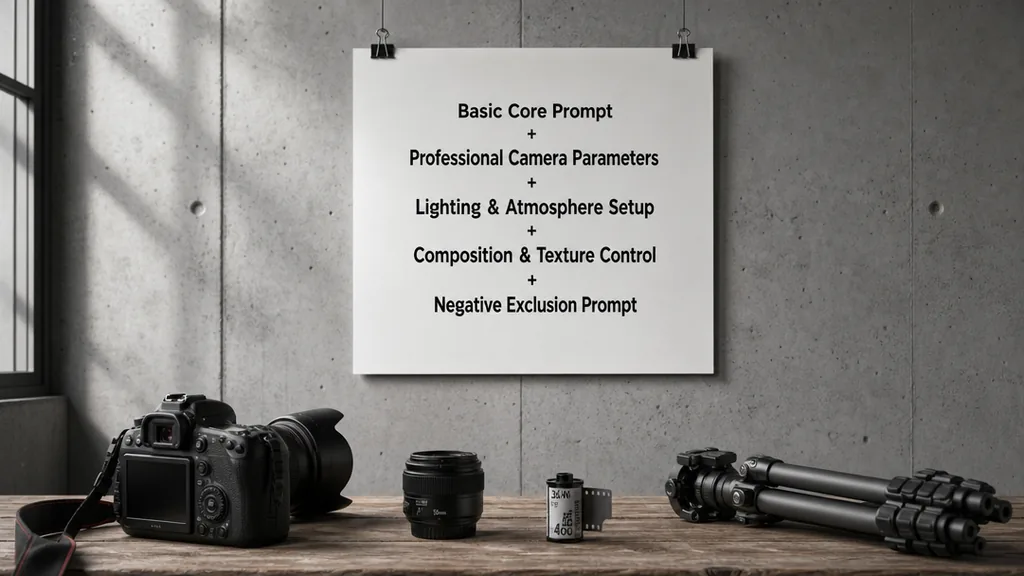
Part 1: Define the Photography Type and Style: open by naming the core style, such as “film portrait,” “urban street documentary photography,” or “commercial still life with soft light,” and add sub-style tags (retro Hong Kong, Japanese fresh, Nordic minimal) to avoid style confusion.
Part 2: Control Lens and Gear Settings Precisely: add focal length (50mm prime, 24-70mm zoom), aperture (f/1.8 wide aperture for bokeh, f/8 small aperture for front-to-back sharpness), and camera model (Canon 5D4, Fujifilm X-T4). They determine depth of field, perspective, and baseline texture.
Part 3: Refine the Lighting and Color Setup: light type (natural light, side-backlight, artificial light), light direction (side light, backlight, top light), and color grading (warm golden film tone, cool cinematic grade, high-saturation retro color)—the core mood elements of photography simulation.
Part 4: Standardize Composition and Scene Details: specify compositional techniques (rule of thirds, leading lines, symmetry) and key environmental details such as “rain puddles reflecting light on the street” or “blind-slat light by the window,” so the image follows real photographic scene logic.
Part 5: Strengthen Texture and Add Negative Exclusions: name the image texture (film grain, slight vignette, sharpness control), then use negative prompts to filter out non-photographic elements such as “3D render look, cartoon styling, blown highlights, blurred edges, distorted color,” preserving the realism of the simulation.
Landscape Hands-On: Autumn Sunrise at Kanas Lake
Landscape photography centers on natural scenery, using light and composition to capture the varied beauty of mountains, lakes, forests, and fields. Traditional landscape shooting is bound by location, season, and weather—the perfect light might take days of waiting. With Puyo AI, one prompt yields finely textured, highly faithful work, and any climate or landform can be recreated. Below is a complete walkthrough using a natural landscape.
Step one: open the Puyo AI image generation page, click the “Model” button, set the image model to “Puyo AI Standard”, and enter the prompt in the input box:
Autumn sunrise over Kanas Lake in Xinjiang. Gentle morning mist shrouds the lake surface. Golden sunlight penetrates the birch forests on both banks. Falling leaves create ripples on the water. The lake is emerald green, and snow-capped mountains are clearly visible in the distance. Shot on Sony A7R5 with 16-35mm lens, f/8 aperture, shutter speed 1/125s, ISO 100. Natural color reproduction, no oversaturation, ultra HD, clear layered composition, red berries decorating the foreground.
How to: set the model to “Puyo AI Standard”, enter the prompt, set the ratio to 4:3, the resolution to 2K, and the number of images to 1, then click “Create”.
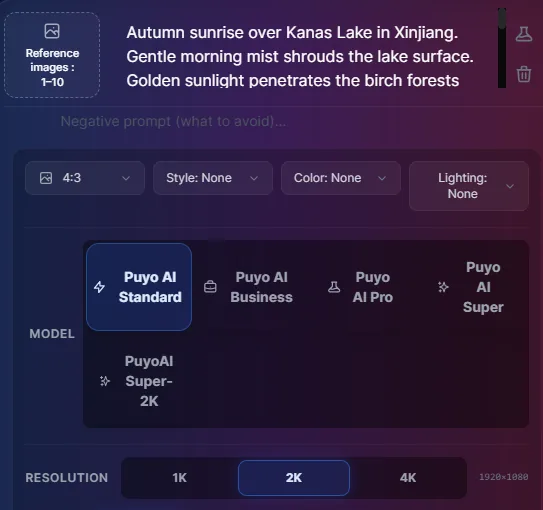
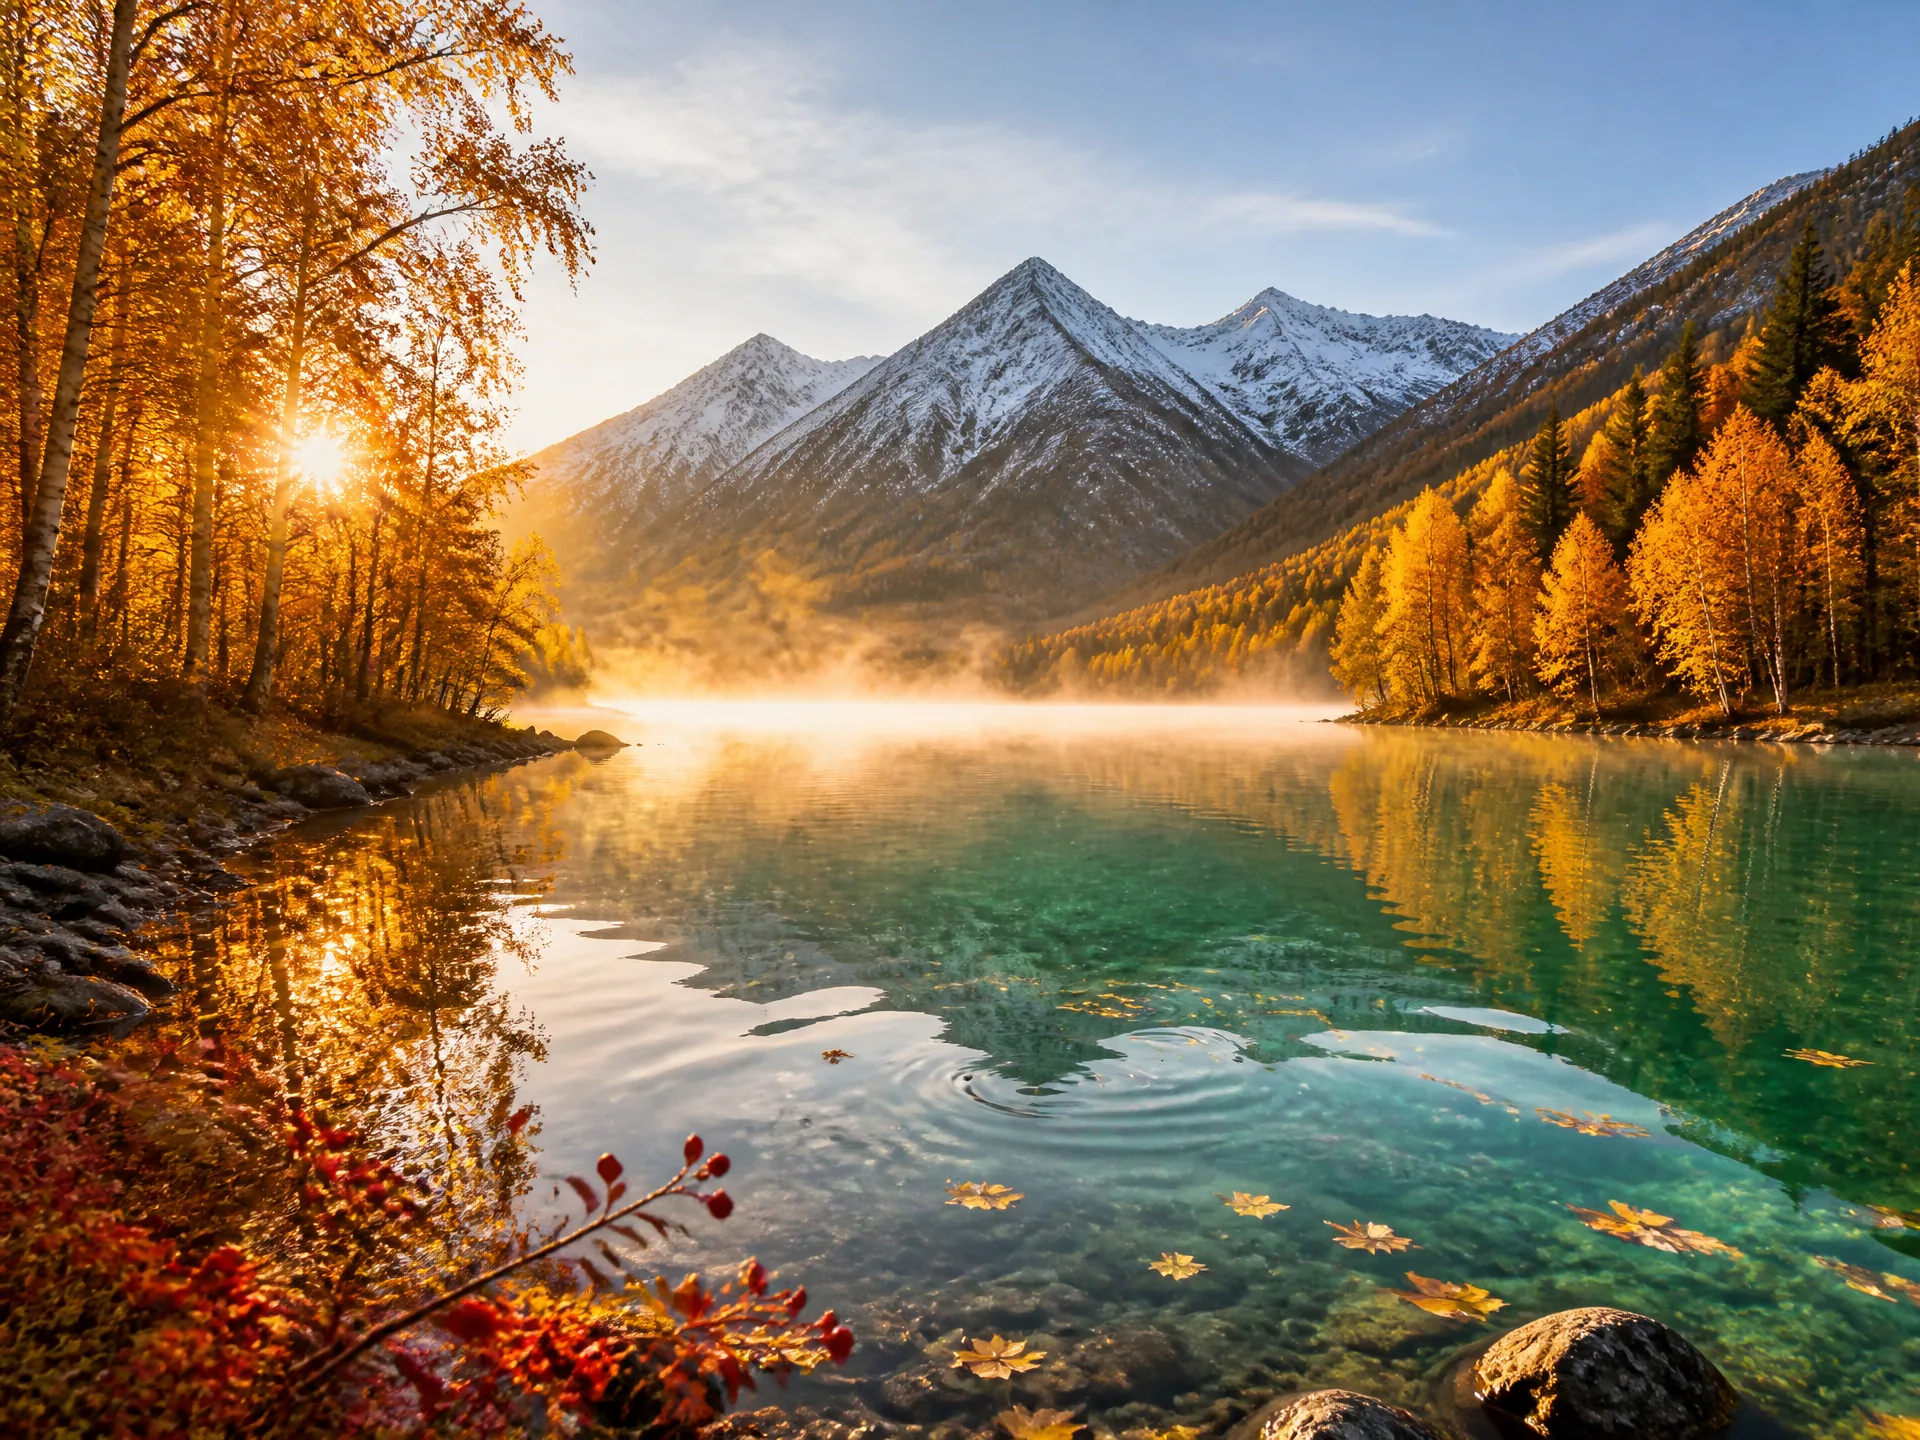
Figure 1-2 Kanas Lake landscape: from prompt input to finished image
Look at this finished image: the hazy morning mist, the contrast between emerald water and golden birches, the crisp outline of distant snow peaks—all of it comes from the lighting and gear descriptions in the prompt. That’s the five-part formula working in plain sight.
Four Specialty Landscapes: City, Starry Sky, Underwater, and Macro
Beyond natural landscapes, Puyo AI can generate many more distinctive landscape images:City landscape photographyCaptures the everyday warmth and modernity of streets and architecture, showing the city’s distinctive texture;Starry-sky landscape photographyCaptures the brilliance and dreaminess of the night sky for a mysterious, romantic mood;Underwater landscape photographyReveals the lively, dappled color of the seabed and unlocks deep-sea visual wonders;Macro landscape photographyFocus on the fine textures of miniature subjects to reveal the unexpected beauty of a small world:
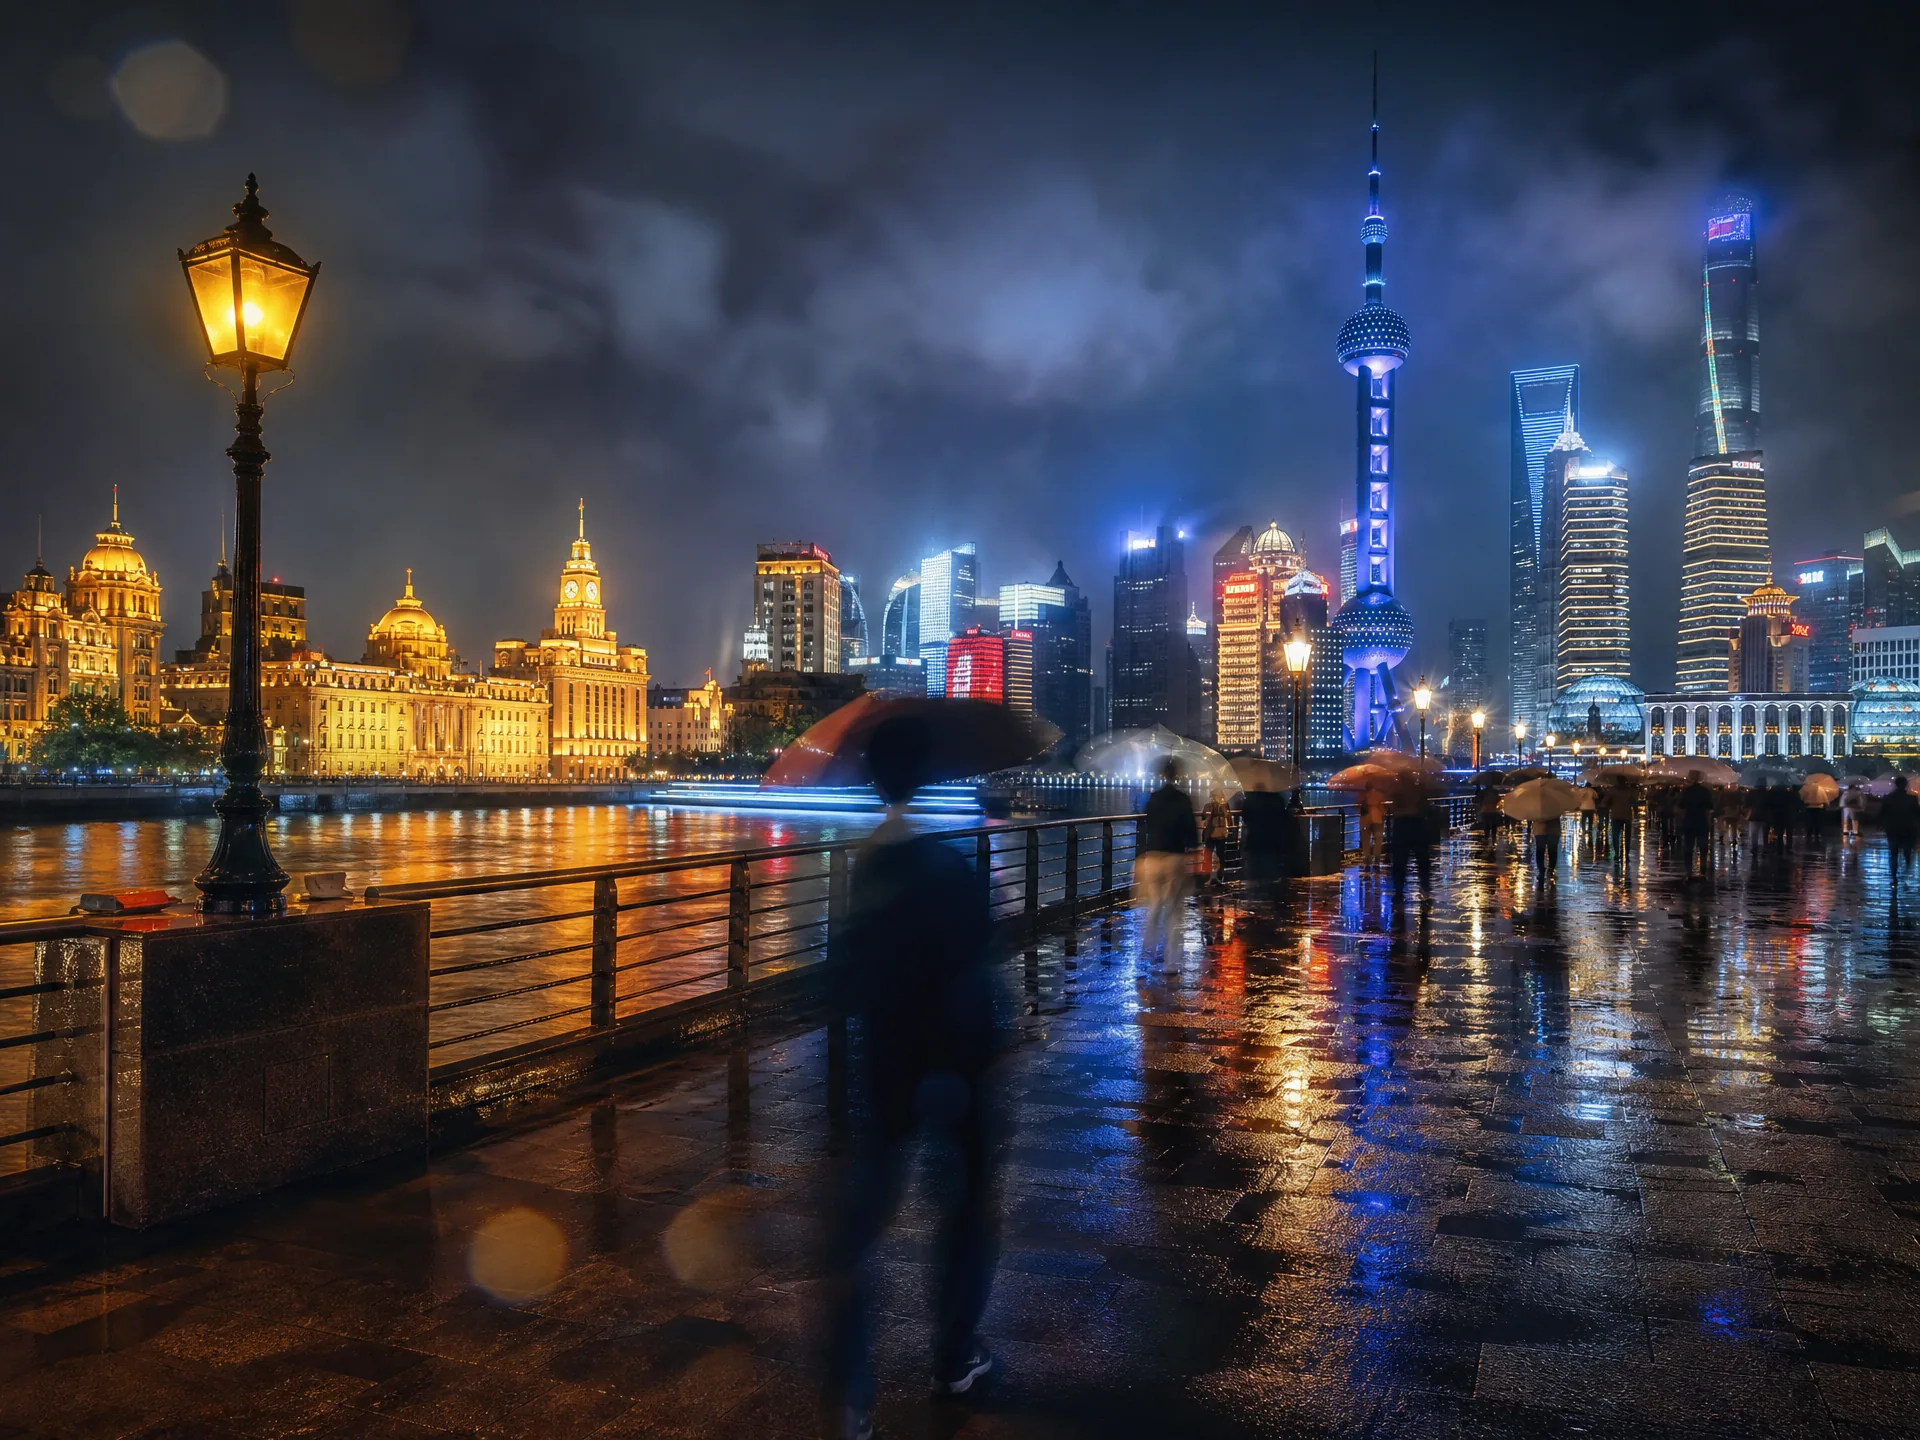
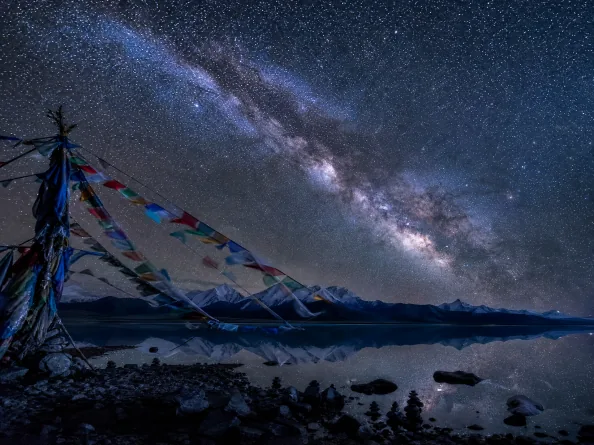
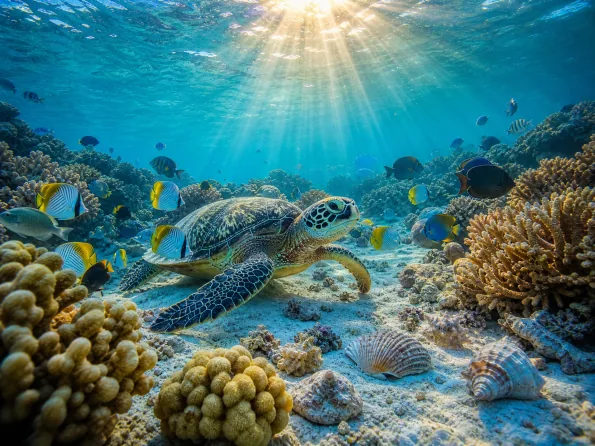
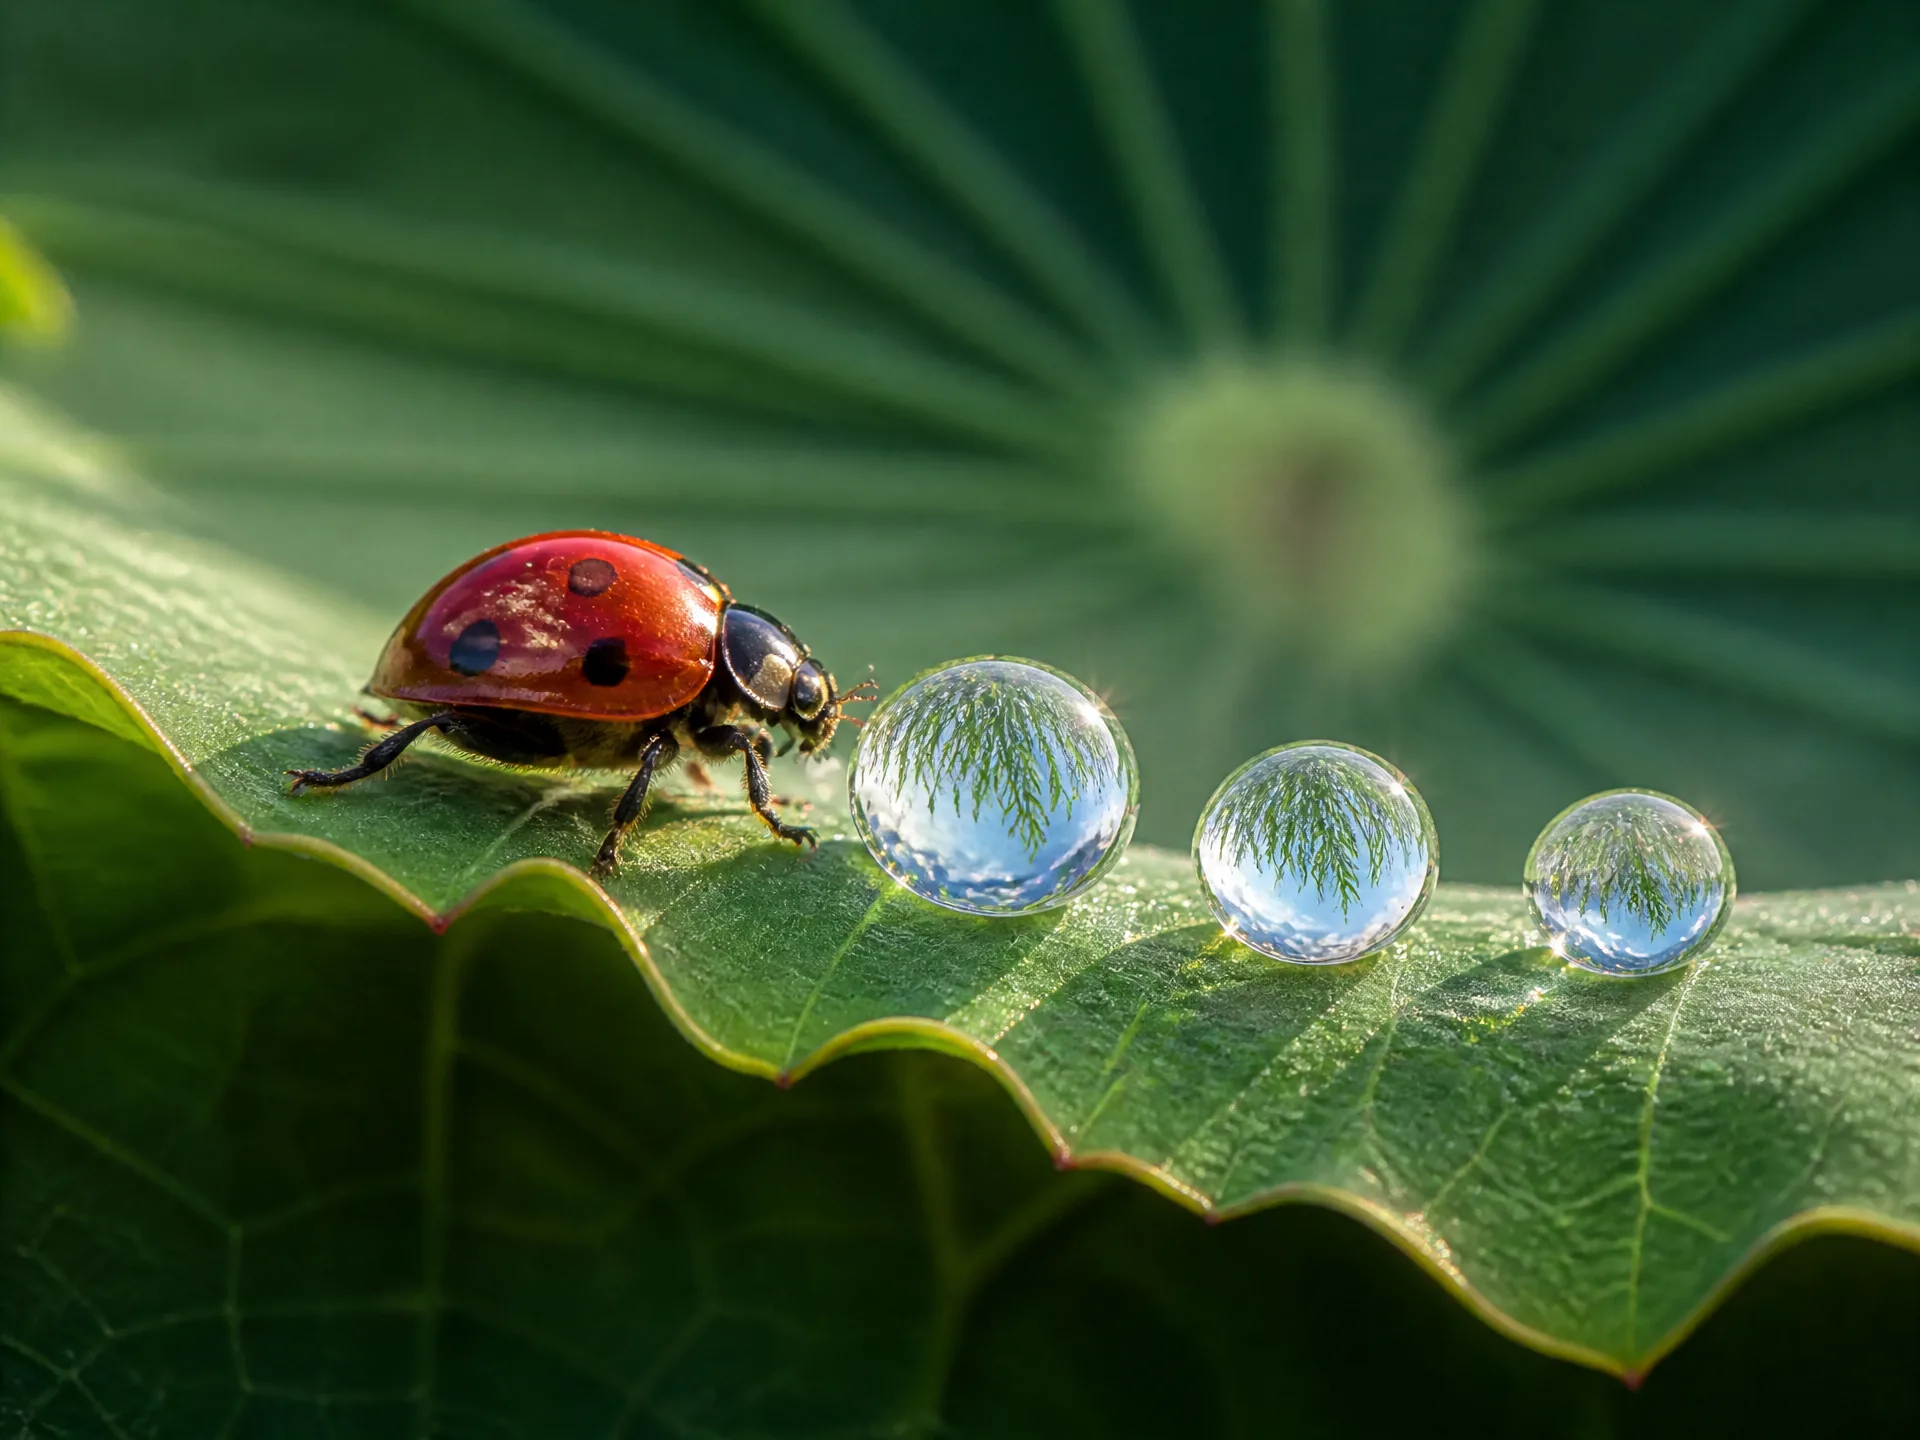
Figure 1-3 Four specialty landscapes: the same formula, a different subject
These four share the same five-part formula as natural landscapes; only the subject description changes: cities get rain reflections, starry skies get the Milky Way’s arc, underwater gets refracted light, and macro gets texture detail. Same formula, swapped subject—that’s the easiest part of photography simulation.
The foundation of photography simulation is laid: the five-part formula plus a landscape workflow. Next come food and portraits, two high-demand subjects where the formula stays the same but the settings and mood words each have their own logic.
FAQFrequently Asked Questions
The questions beginners ask most about this guide
Do I need to know photography or cameras for AI photography simulation?
No Need. Camera settings in the prompt (such as f/8, ISO 100) can simply be copied from the template; the AI translates them into depth of field, viewpoint, and image texture, so even with zero photography background you get professional-looking results.
Why do my images look obviously AI-made instead of like photographs?
You Probably Skipped the Negative Exclusions. Add exclusions at the end of the prompt such as “no oversaturation, no 3D render look, no cartoon styling, crisp edges,” and include realism texture words like “film grain, slight vignette”—the sense of realism jumps noticeably.
Do camera models and lens settings really affect the output?
It Matters a Lot. For example, a 16-35mm wide angle suits landscapes and an 85mm prime suits portraits; different focal lengths give completely different perspectives and compression. Naming models like the Sony A7R5 or Canon 5D4 helps the image lock onto the corresponding look faster.
What ratio and resolution suit landscape photography?
Landscapes: 4:3 or 16:9, 2K resolution minimum. A horizontal frame better matches landscape composition habits, and 2K resolution preserves details like morning mist and ripples on the water—the tutorial case uses 4:3 + 2K + 1 image.
How many images should you generate at once?
Generate Just 1 First. The same prompt produces random variation each time, so generate 1 image first to confirm the composition and color direction, then batch-generate—it saves more time than generating 4 and picking one.
Beyond landscapes, what else can photography simulation shoot?
All Four Subjects Work: landscapes, food, portraits, and architecture each have mature prompt conventions, covered one by one in the rest of this series—all built on the same five-part structure.
About the Author: Julia, Veteran AI Image Creator
Years of using AI image tools for photography-grade shots, stylized illustration, and art recreation, and of guiding complete beginners. Every case, prompt, setting, and screenshot in this article comes from real generation records on the Puyo AI platform—not theory, not stitched-together stock material. This piece is the master guide to the Visual Presentation chapter; next come hands-on cases in food and portraits, two high-demand subjects.
Content adapted and polished from the original material “From Novice to AI Art Pro | Complete Hands-On Tutorial Collection”, with all original prompts and figures preserved. Source: https://www.puyoai.com。
You’ve learned the formula—now take a shot
Open the Puyo AI website, swap the Kanas Lake prompt for anywhere you’d like to go, and create your own landscape masterpiece.
Results are affected by model version and randomness—the same prompt will vary slightly each time it runs; run it a couple of rounds before drawing conclusions.