
The Universal AI Art Prompt Formula: Subject + Details + Style + Parameters, a Four-Section Breakdown for Beginners
The universal AI art prompt formula has four sections: subject + details + style + parameters. First lock in one core subject, then flesh it out with environment, action, lighting, and material, then pick a style to set the tone, and finally close with quality, composition, rendering engine, and detail precision. Follow this order and even beginners can get an image in one go.
What You Will Take Away From This Guide
What the Universal Formula Looks Like: Understanding the Four-Section Structure in One Sentence
When people first touch Puyo AI, many share the same experience: the picture is crystal clear in their heads, but at the input box they don’t know where to start, type a few hasty lines, and the image comes out miles away from what they imagined. The gap between “knowing how to say it” and “knowing how to make it” is never about aesthetics—it is the expressive logic of the prompt.
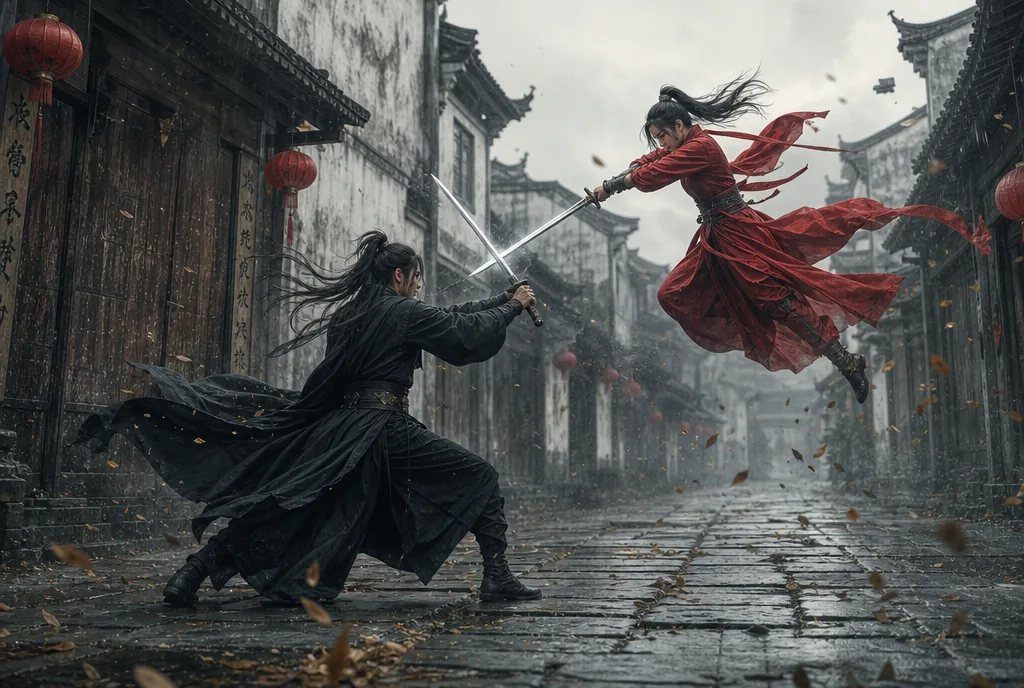
All it takes is one formula: subject + details + style + parameters. It works like a translation key, converting the fuzzy ideas in your head into structured instructions the AI can parse. The subject pins down “what to draw”; details specify “what it looks like”; style sets “what tone”; parameters close out “clarity and composition”. Four sections, four jobs—segment before you write, one sentence per section, and that is enough. First, look at an image generated with the full formula:
How to Write the Subject: A Fuzzy Anchor Drags the Whole Image Off Target
The subject is the core anchor of the whole image; every detail, style, and parameter that follows revolves around it. Step one of writing the subject is setting the basic category—is it a person, an animal, or an object; step two is narrowing the boundaries with core features—state of existence, functional attributes, structural features. Two steps done, “an abstract category” becomes “a concrete object”.
How big is the gap between a rough subject and a well-defined one? Look at this same-tool, same-model comparison:
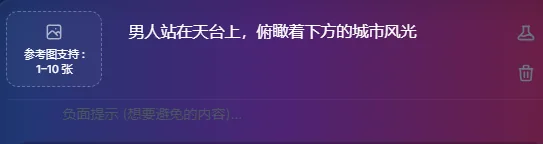
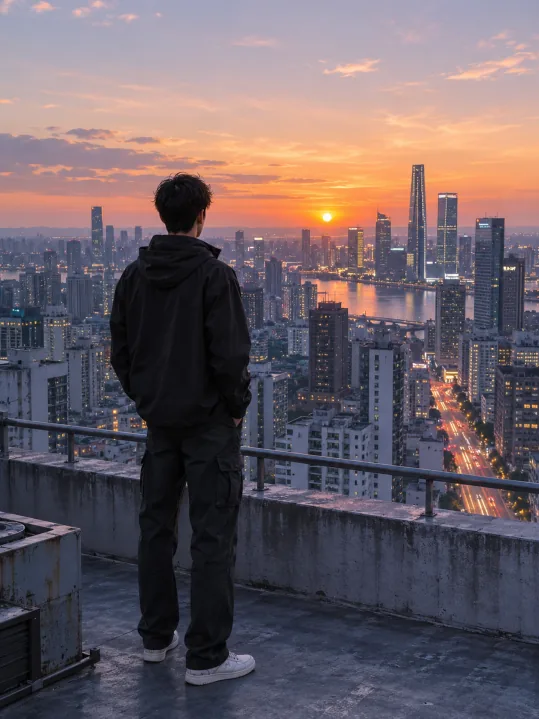
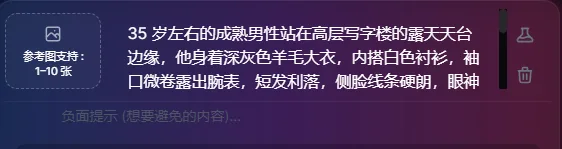
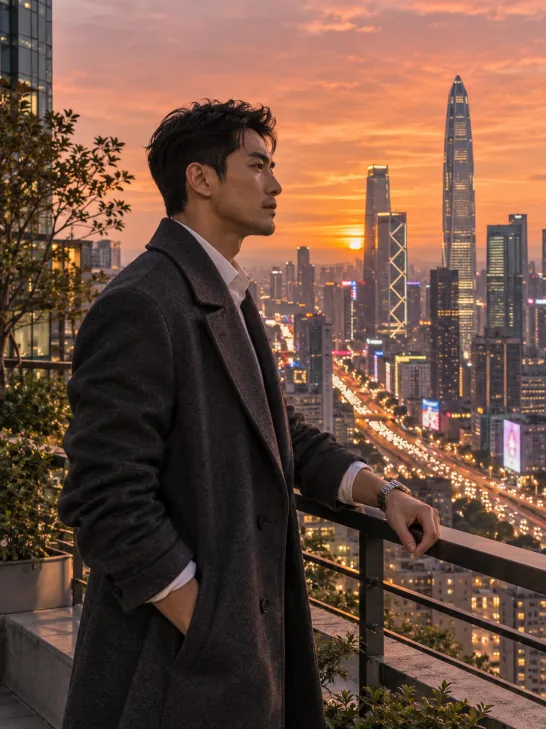
Fig 1-1 The output gap between a one-sentence and a one-paragraph subject description
Once the basic category and core features are set, don’t miss three supplementary dimensions: viewpoint decides the presentation angle, scale decides how much of the frame the subject occupies, and scene relation decides what environment it lives in. None of the three belongs to the subject itself, yet all directly shape composition—nearly identical prompts with only the viewpoint changed produce two completely different feels:
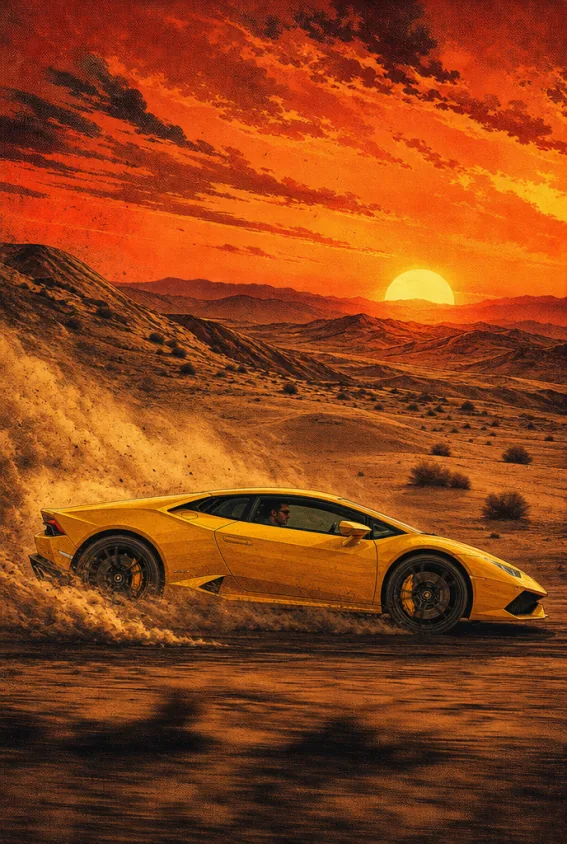
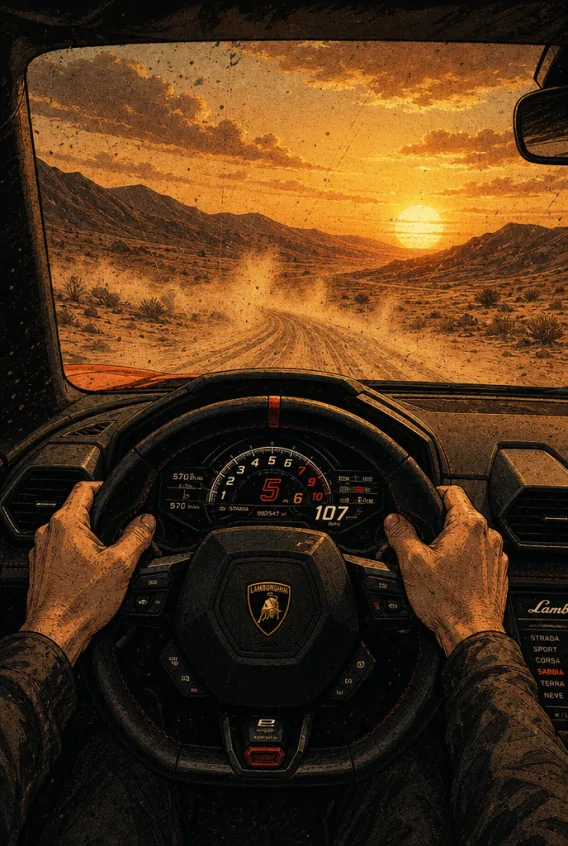
Fig 1-2 Change only the viewpoint and the visual narrative changes
There are two pits when writing the subject, and stepping into either almost guarantees drift. The first is vague wording: describing the subject with subjective words like “beautiful”, “premium”, or “that kind of feel”—the AI has no shared standard for these and can only guess. The second is multiple subjects: one sentence demanding a girl, a cat, and a castle at once dilutes attention, unbalances the image elements, and kills the focus. The right approach is one line: objective, concrete, and one core subject at a time.
How to Use the Detail Vocabulary: Environment, Action, Lighting, Material
The subject sets the skeleton; details are the flesh. Beginners don’t need to memorize a massive vocabulary—master four dimensions, one sentence each.
The first dimension is environment: where the subject is. Cover spatial attributes, weather state, and scene atmosphere in three layers—for example, “a rain-washed old-town street in Jiangnan”, one sentence that frames space, weather, and mood all at once. A vague environment leaves the subject floating on the background like a sticker.
The second dimension is action: set the image in motion. Build around limb state, behavioral direction, and interaction. Static images dread stiffness—directional verbs like “leaping with sword raised” or “crouching to pet a cat” beat any adjective:
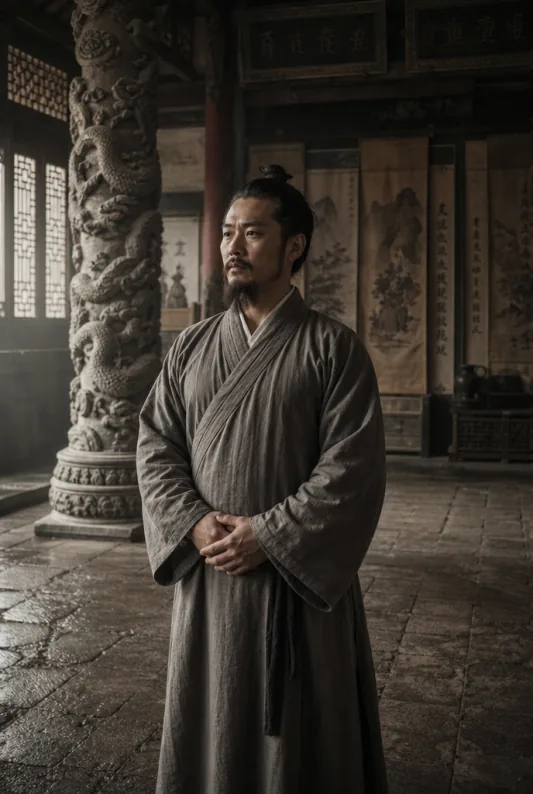
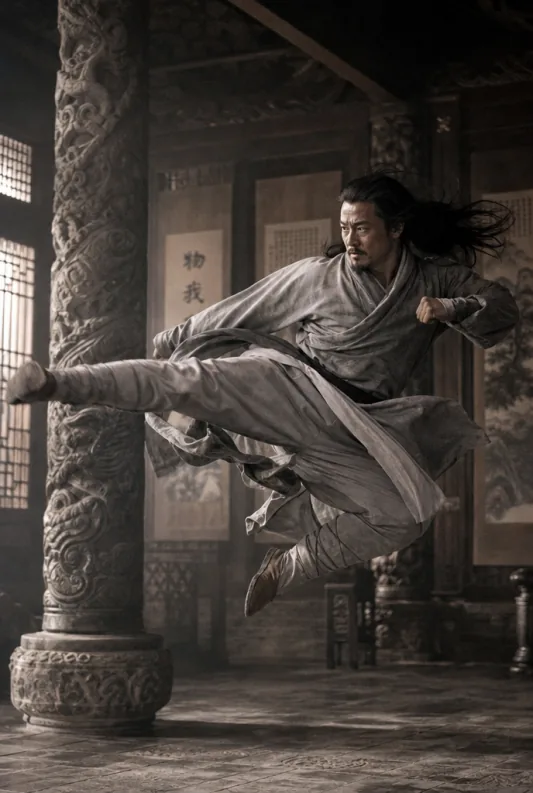
Fig 1-3 Give the subject an action and the narrative instantly changes
The third dimension is lighting: it decides layers and mood. Specify the light type, lighting effect, and intensity—for example, “dusk side backlight with warm long shadows”. The same subject, a different light, a different emotional key:
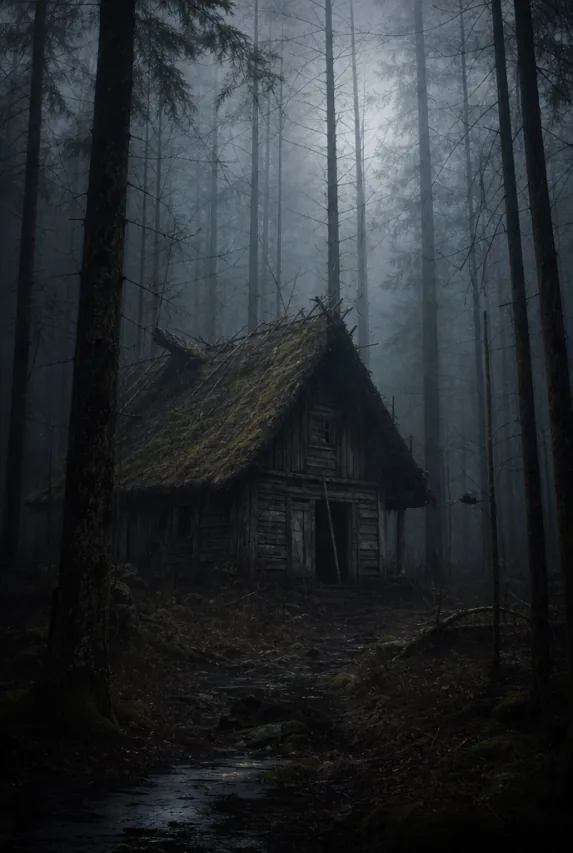
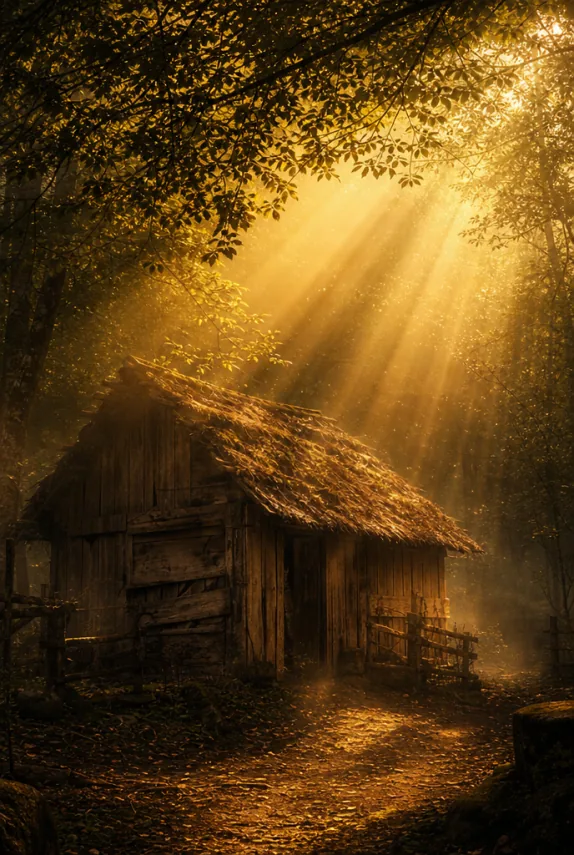
Fig 1-4 Lighting is the image’s mood switch
The fourth dimension is material: max out the realism. Describe fabrics, metals, and natural objects separately—the fuzzy yarn texture of a sweater, the metallic reflections of armor, the rough grain of bark. “Every yarn of the sweater visible” works far better than the two words “HD”:
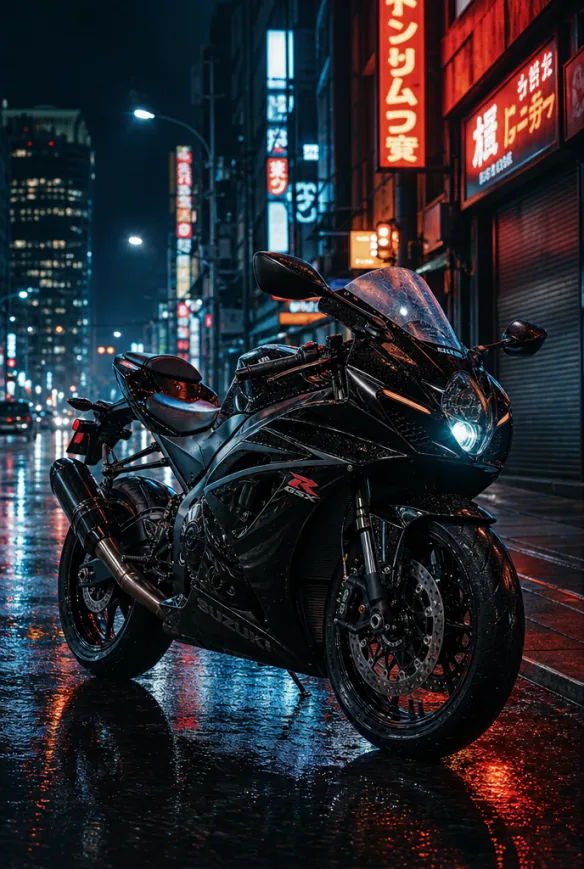
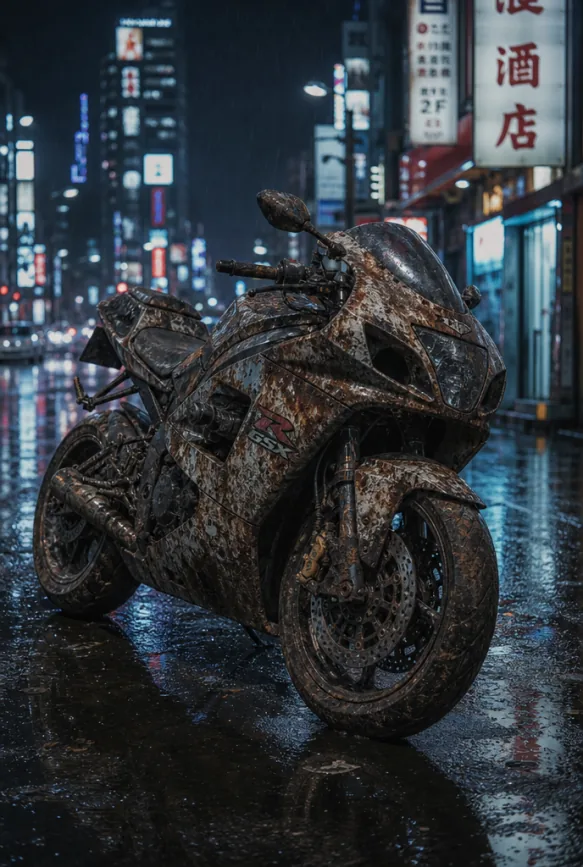
Fig 1-5 Material descriptions take the image from “seeing” to “almost touching”
Environment, action, lighting, and material work together to turn abstract ideas into actionable visual instructions. Run through them in the order “subject → environment → action → lighting → material”, patch whatever is missing, and the complete prompt is there.
In Closing: How to Keep Practicing the Formula
Memorizing the formula is not mastery—you have to practice. Here is a four-section skeleton you can fill in directly, one copy in English; swap the bracketed parts for your own ideas and you can generate:
[Subject]+[One sentence each for environment / action / lighting / material]+[Style, e.g. photorealistic style]+[Parameters, e.g. cinematic quality, ultra-high details, golden ratio composition]
Skeleton prompt: fill in the blanks section by section, read it through once to delete repeated words, then paste it into the generation interface.
The next stage is setting the tone for your image—how to choose styles and tune parameters is broken down further in Part 2, How to Choose AI Art Styles and Parameters. If you want to jump straight into a complete case, go to Part 3, Write Your First AI Art Prompt, a full record from zero to refinement.
FAQFrequently Asked Questions
The questions beginners ask most about this guide
Must the universal prompt formula include all four sections?
Not necessarily. Writing all four gives the most stable results, but for quick idea tests “subject + style” alone can also produce images—the subject is the baseline; without it the AI improvises freely and the results are basically uncontrollable.
Should prompts be written in Chinese or English?
Either works. Puyo AI recognizes both Chinese and English prompts; just keep the Chinese and English versions of the same prompt consistent in meaning. When unsure, first write the four sections clearly in Chinese, then translate into English—language is not the key, structural completeness is.
The same prompt gives a different image every time—is that normal?
Yes, it is normal. Generation is random, so running the same prompt two rounds is common; if two rounds both go off target, go back and check whether the subject description is clear instead of gambling on luck.
Can I swap the order of subject and details?
Better not. Put the subject first so the AI locks the core object first, with details following to refine the boundaries. Once the order is shuffled, generated content drifts from expectations noticeably more often—see Prompt Engineering – Wikipedia↗.
Is more detail always better?
No. One precise sentence per dimension is enough; stacking words throws the image elements off balance. Cover the four dimensions of environment, action, lighting, and material first, then add one or two mood words as needed.
Should a prompt be written in separate paragraphs?
No need to split it. Write it as one coherent instruction; the AI identifies the four sections semantically. Only when drafting by yourself should you list the four sections clearly and merge them into one paragraph for input.
About the Author: Julia, Veteran AI Image Creator
Julia has long used AI image tools for avatars, illustrations, productivity diagrams, and character design, and has coached large numbers of complete beginners. Every case, prompt, parameter, and screenshot in this article comes from real generation records on the Puyo AI platform—not theoretical speculation, not stitched-together stock. This is Part 1 of the series (the formula master guide); Part 2 continues with how to choose styles and parameters.
The content is adapted and polished from the original material “From Novice to AI Art Pro | Complete Hands-On Tutorial Collection”, with all original prompts and figures preserved. Source: https://www.puyoai.com.
The Formula Is Already in Your Hands
Open the Puyo AI website, follow the four-section formula to write your first prompt, and check this guide’s breakdown as you go.
Results are affected by model version and randomness—the same prompt will vary slightly each time it runs; run it a couple of rounds before drawing conclusions.
Original article by Julia,Please credit the source:https://www.puyoai.com/blog/ai-prompt-formula-guide-en.html

Comments(3)
[…] At this point you have mastered three and a half of the formula’s four sections. Next step: string “subject + details + style + parameters” together completely—head to Part 3, Write Your First AI Art Prompt, follow the little-boy case to write a prompt from zero, and learn to refine it round by round until you are satisfied. Forgot the formula? Review The Universal AI Art Prompt Formula. […]
[…] Part 1 · The FormulaThe Universal AI Art Prompt Formula: Subject + Details + Style + Parameters, Br…Part 2 · Styles & ParametersHow to Choose AI Art Styles and Parameters: Style Library + Quality, Composition, and Rendering ExplainedPart 3 · First PromptWrite Your First AI Art Prompt: Little Boy Case Study + Hands-On RefinementPart 4 · Social MediaInstagram-Style Minimalist Avatars and Xiaohongshu Check-In Illustration PromptsPart 5 · Work & StudyAI Knowledge-Note Concept Map and Project Plan Diagram Prompt TemplatesPart 6 · Lifestyle & FunDream Recreation and Game Character Design Prompt Examples […]
[…] Both playstyles extend outward: dream images swap scenes (space capsule, seabed, old classroom), character design swaps themes (mecha girl, wuxia swordsman, forest sprite)—skeleton unchanged. If the output drifts, go back to Part 3, Write Your First AI Art Prompt, and fix it with instruction iteration and negative prompts; if you forgot the formula, return to Part 1, The Universal AI Art Prompt Formula. […]