
Write Your First AI Art Prompt: A Full Record from Assembly to Refinement
The path to your first prompt: assemble the formula section by section (subject: the little boy → details: clothing and setting → style: photorealistic → parameters: quality and composition), then enter it in Puyo AI with the Standard model, 1:1 ratio, and 2K resolution. If the output disappoints, refine it with two techniques—instruction iteration, requesting changes round by round, and negative prompts, excluding unwanted elements.
What You Will Take Away From This Guide
From Formula to Finished Image: Assembling Your First Prompt
For practice, we will use a 6-8-year-old East Asian boy. Don’t underestimate this subject: human subjects place the fullest demands on all four formula sections, and any section you wrote poorly will show in the output immediately.
Section 1: Subject. Lock in a 6-8-year-old East Asian boy, positioned at the most prominent spot in the frame as the absolute focal point; his vibe should be lively and clever, with a child’s innocence and playfulness, movements natural rather than stiff, and a background that never steals his spotlight.
Section 2: Details. Choose simple, comfortable everyday clothing—nothing complicated; pick an ordinary outdoor or indoor setting so the image feels concrete, real, and unforced.
Section 3: Style. Photorealistic, cartoon, cozy, or nostalgic—pick one to set the overall tone. For this example we choose photorealistic, the most demanding and most widely used style.
Section 4: Parameters. Cinematic-grade quality, details maxed out, golden ratio composition. Put the four sections together and you get this ready-to-copy complete prompt:
Photorealistic style, cinematic quality, ultra-high definition and rich details, golden ratio composition. The main subject is an energetic and innocent East Asian boy aged 6 to 8 with natural movements. He wears casual comfortable clothes, set in an ordinary outdoor scene with an unobtrusive background. Perfect lighting and shadow effects, fully refined details, clear layered image, natural and authentic overall atmosphere.
The prompts are transcribed verbatim from the original material, with the English sentence breaks filled in to match the Chinese meaning—paste them directly into the generation interface.
Feed it into Puyo AI. The whole operation takes four steps:
- 1Open the image generation page on the Puyo AI homepage, click the “Model” button, set the image model to Puyo AI Standard, and paste the prompt into the input box;
- 2Click the ratio button and set the image ratio to 1:1;
- 3Click the resolution button and set the resolution to 2K; click the count button and set it to generate 1 image;
- 4Click the “Create” button and wait for the result.
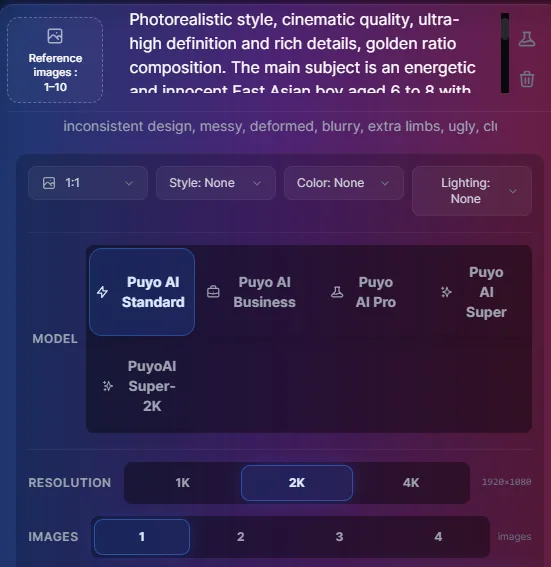
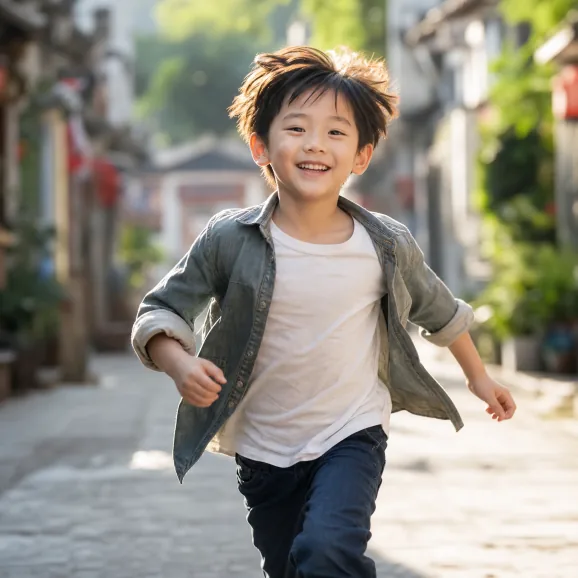
Fig 1-12 The complete workflow from input to output
Instruction Iteration: From “Not Quite Right” to “Perfect”
Your first round of output rarely lands in one shot—that is completely normal. Refinement technique number one is instruction iteration: keep making requests so the AI revises the image round by round, polishing it from “not quite right” to “perfect”.
First look at the initial output: composition and atmosphere are on point, but the details still fall short of “perfect”:
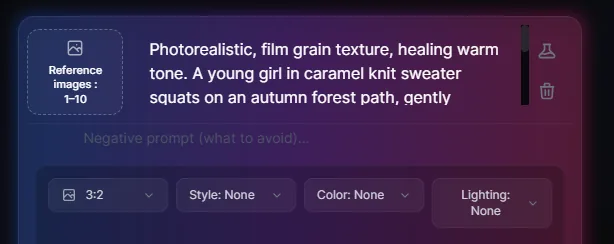
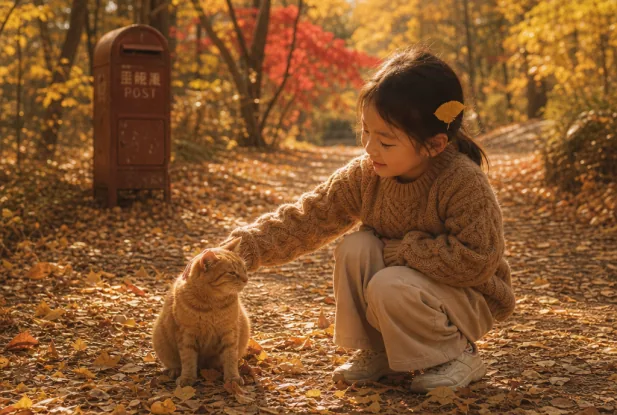
Fig 1-13 Initial round: the direction is right, the details fall short
The image does not match expectations, so edit the prompt and generate another round:
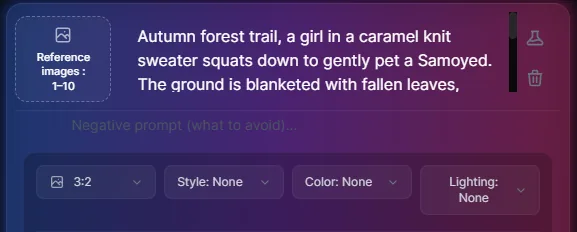
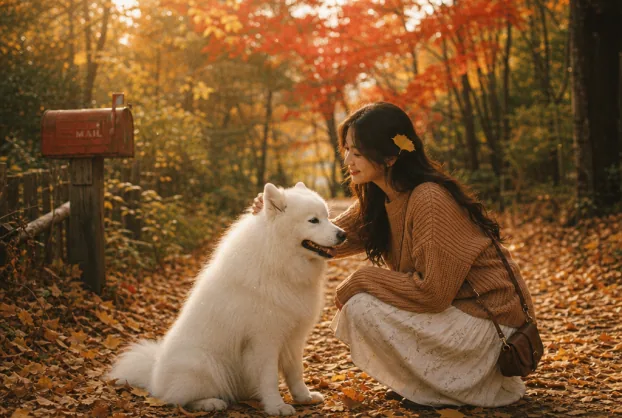
Fig 1-14 Revise the prompt and run another round
Still not satisfied? Keep making requests until the output matches what you have in mind:
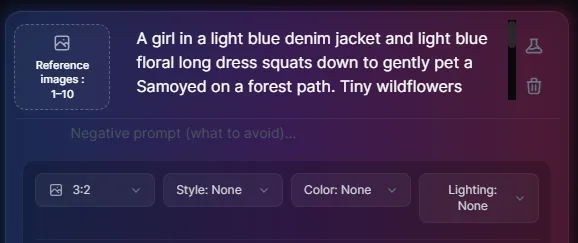
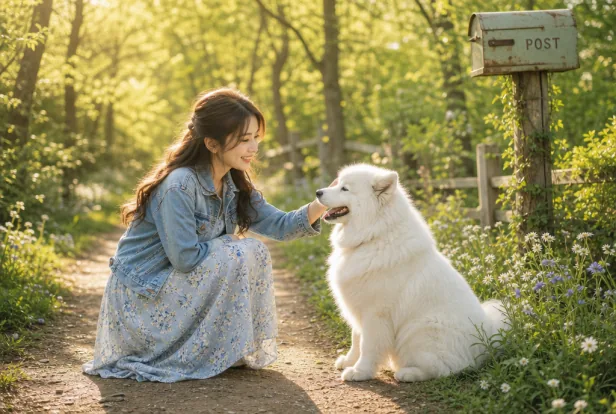
Fig 1-15 Round three: details and atmosphere in place
The whole iteration method comes down to one rule: change only one thing per round. Add one lighting phrase, swap one style word, or adjust one parameter—check the output before touching anything else. Change five things at once and you will never know which one did the work, with no way to roll back.
Excluding Unwanted Elements: Negative Prompts
Refinement technique number two is the negative prompt: write what you don’t want as exclusion statements, and the AI will actively avoid them. The classic scenario is a fight scene—full action tension, but gore must be kept out:
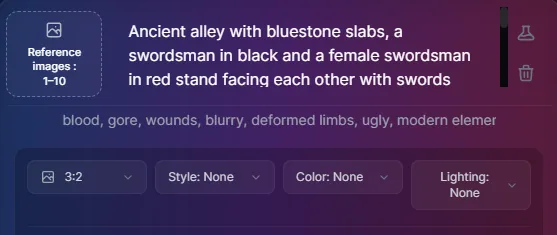
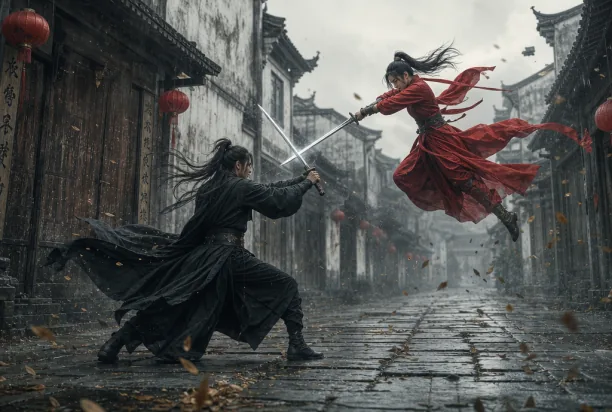
Fig 1-16 Using exclusion statements to filter out gore
The standard routine has two steps: first build your Negative prompt—list the unwanted elements (gore, clutter, extra limbs, blur and distortion, etc.); then add the list to your instructions as negative-rule statements, such as “no bloody scenes”. That way the image keeps its tension while staying clean and true to your expectations.
At this point you have mastered both “writing” and “refining” prompts. The next three installments are learn-and-apply scenarios: for social media images see Part 4, Instagram-Style Minimalist Avatars and Xiaohongshu Check-In Illustration Prompts; for work and study diagrams see Part 5, AI Knowledge-Note Concept Maps and Project Plan Diagram Prompts; for lifestyle and entertainment see Part 6, Dream Recreation and Game Character Design Prompts.
FAQFrequently Asked Questions
The questions beginners ask most about this guide
What subject should I pick for my first prompt?
Pick a human subject. People place the fullest demands on subject, details, and lighting, and expose a weak formula section fastest, so one round of practice with a person is worth several rounds with anything else.
Unhappy with the output—rewrite or revise?
Revise first, rewrite later. With instruction iteration, change one thing per round—add a detail, swap a style word, or adjust a parameter; three rounds usually gets you to 70-80% satisfied. If after three rounds you are still far off, the subject direction is wrong—go back and rewrite.
Unwanted elements keep appearing in the image—what do I do?
Use a negative prompt. First list the elements you don’t want (gore, clutter, extra limbs, etc.), then add exclusion statements to your instructions, and the AI will actively avoid that content.
How many images should I generate at once?
Start with 1 image. Choose “1 image” in Puyo AI’s generation count option and run the same prompt for several rounds, keeping the best result; generating many at once is slower and splinters your attention when comparing images one by one.
How many changes per prompt refinement round?
One change only. Pick exactly one of three—add a detail, swap a style word, or adjust a parameter—then generate immediately for comparison; whether the effect got better or worse is instantly clear. Change several things at once and you cannot tell which one made the difference.
Where do I set the ratio and resolution?
In the options area of the generation interface: set the image model first, then after entering the prompt choose ratio, resolution, and generation count in order, and finally click Create. Keeping the prompt and the interface settings consistent is the most reliable approach.
About the Author: Julia, Veteran AI Image Creator
Julia has long used AI image tools for avatars, illustrations, productivity diagrams, and character design, and has coached large numbers of complete beginners. Every case, prompt, parameter, and screenshot in this article comes from real generation records on the Puyo AI platform—not theoretical speculation, not stitched-together stock. This is Part 3 of the series (first-prompt practice); see Part 1 for the formula basics and Part 2 for styles and parameters.
The content is adapted and polished from the original material “From Novice to AI Art Pro | Complete Hands-On Tutorial Collection”, with all original prompts and figures preserved. Source: https://www.puyoai.com.
Your Turn to Try It Yourself
Open the Puyo AI website, run the little-boy prompt from this guide exactly as written, then practice another round with a subject of your own.
Results are affected by model version and randomness—the same prompt will vary slightly each time it runs; run it a couple of rounds before drawing conclusions.